Properly Sized Rooftop Units And Package HVAC Systems For Renovations, Expansions, And Aging Equipment In Sarasota, Florida And Surrounding Areas
Licensed Putnam Mechanical HVAC Technicians | Load-Calculated HVAC Sizing
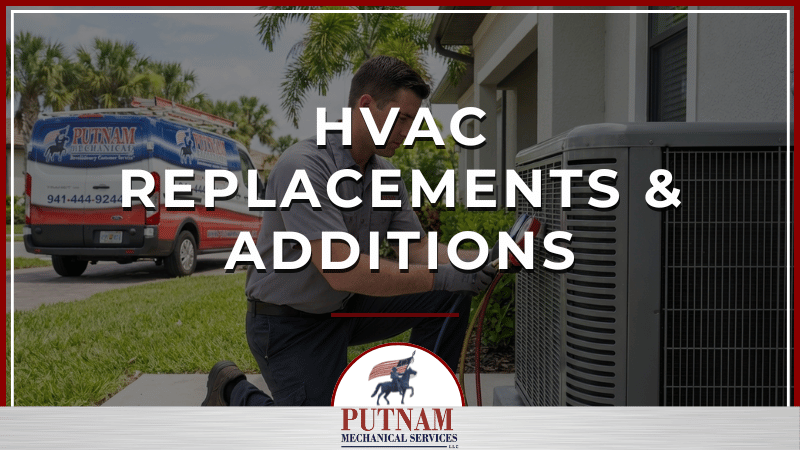
At some point, every commercial HVAC system reaches a stage where continued repair is no longer cost effective. It might be an aging rooftop unit that has already needed multiple repairs this year, or a building expansion or renovation that has outgrown what the existing system can support. In any case, a replacement or addition that performs properly starts with an accurate load calculation, not simply matching the tonnage of the previous equipment.
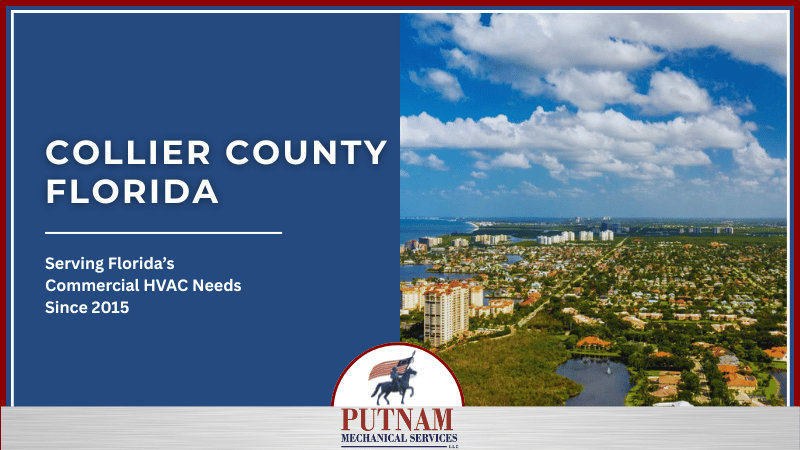
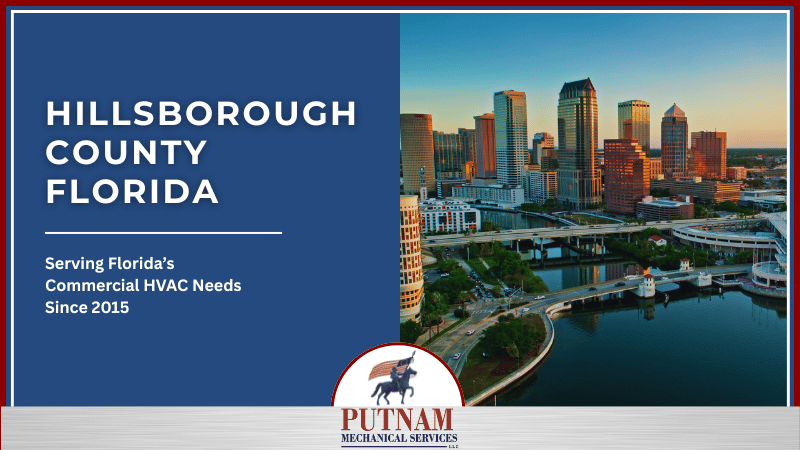
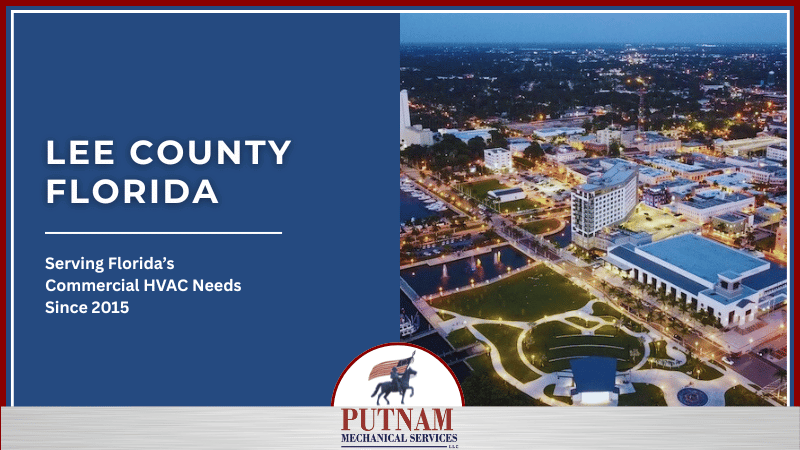
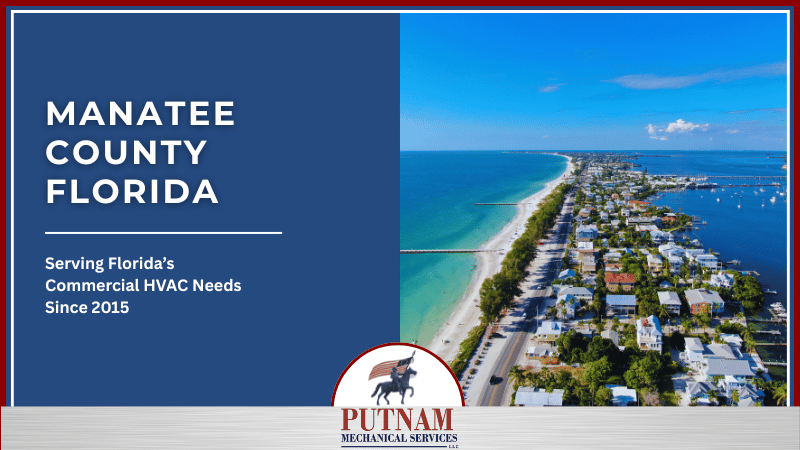
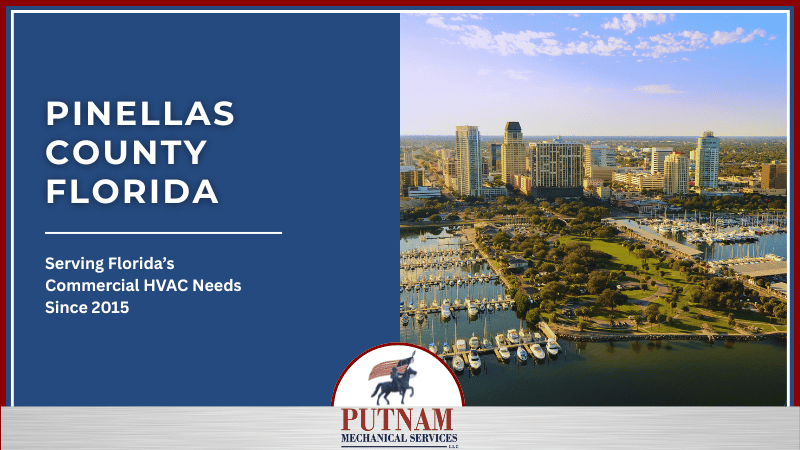
Based in Sarasota and serving businesses throughout Collier County, Hillsborough County, Lee County, Manatee County, Pinellas County, Sarasota County and surrounding areas, Putnam Mechanical provides complete commercial HVAC system replacements and additions across Florida’s Gulf Coast. From straightforward rooftop unit changeouts to new systems required by building expansions or changes in occupancy, our experts size new equipment based on your building’s actual cooling load, current insulation and window performance, and occupancy patterns. We do not rely only on the nameplate rating of the old unit, which may have been oversized, undersized, or no longer appropriate for current building codes and modern energy efficiency standards.
For many commercial properties in Sarasota and throughout Collier, Hillsborough, Lee, Manatee, Pinellas, and Sarasota Counties, a system that has needed more than two or three significant repairs in the past year, is approaching or past 12 to 15 years of Florida runtime, or is using a refrigerant type being phased out of production, is usually a better candidate for replacement than repair. Putnam Mechanical, headquartered in Sarasota, will review the equipment's repair history, condition, and remaining expected life before recommending either option. Our goal is to identify the most practical long-term solution for your building rather than defaulting to replacement.
Simply replacing an old rooftop unit with a new one of the same tonnage is a common mistake. Buildings change over time with added equipment, renovated spaces, updated insulation, and different occupancy levels, so the original system's sizing may no longer match current conditions. An undersized replacement runs constantly and never fully conditions the space. An oversized one short-cycles, wastes energy, and struggles with humidity control because it cools the air faster than it can dehumidify it. Putnam Mechanical performs current load calculations for your facility before recommending equipment size, rather than assuming the old capacity was ever correct.
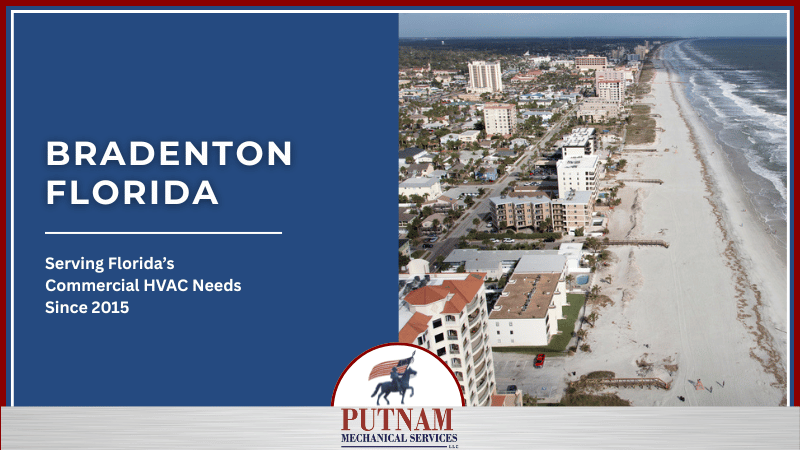
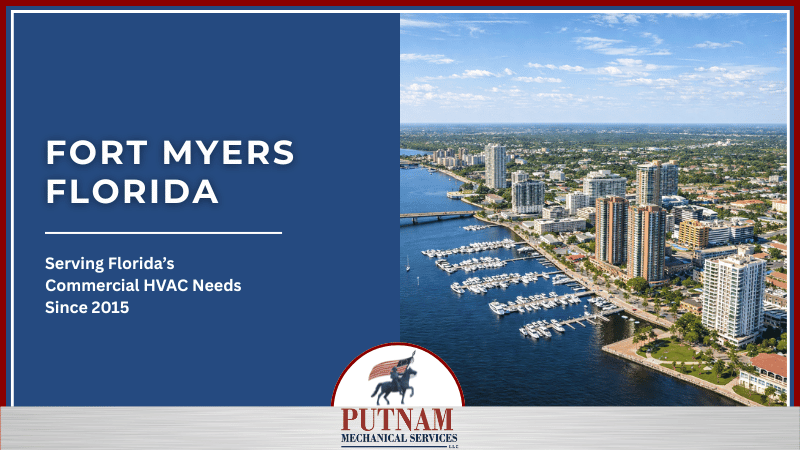
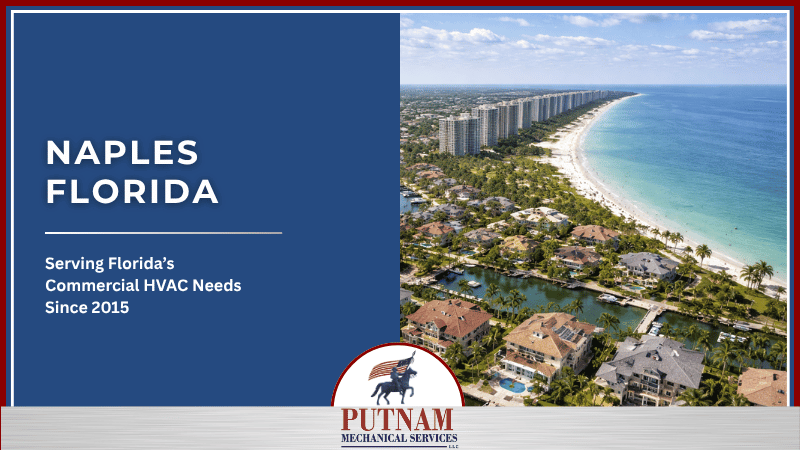
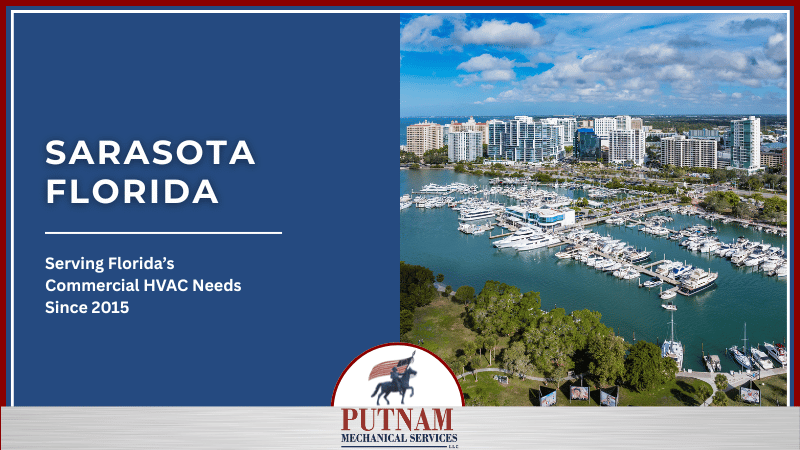
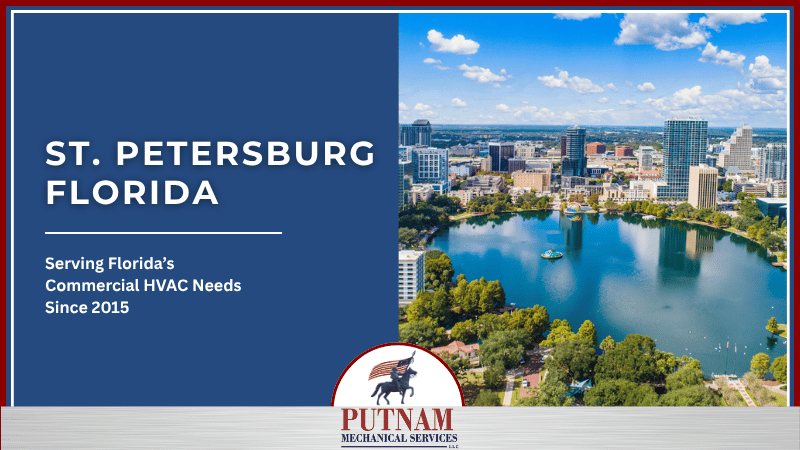
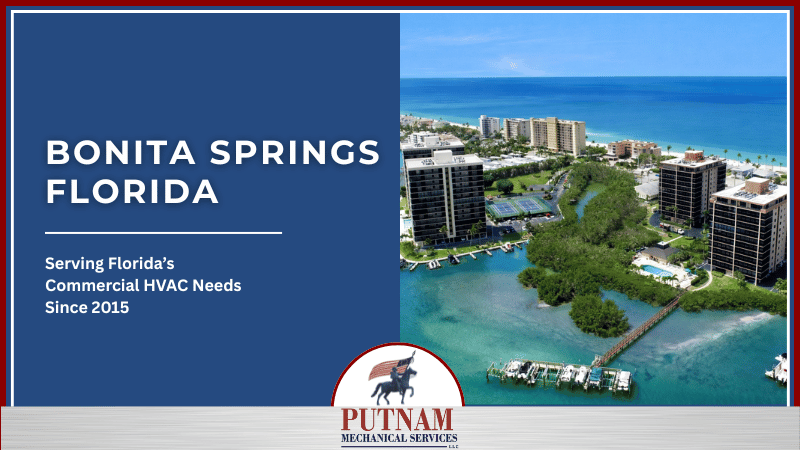
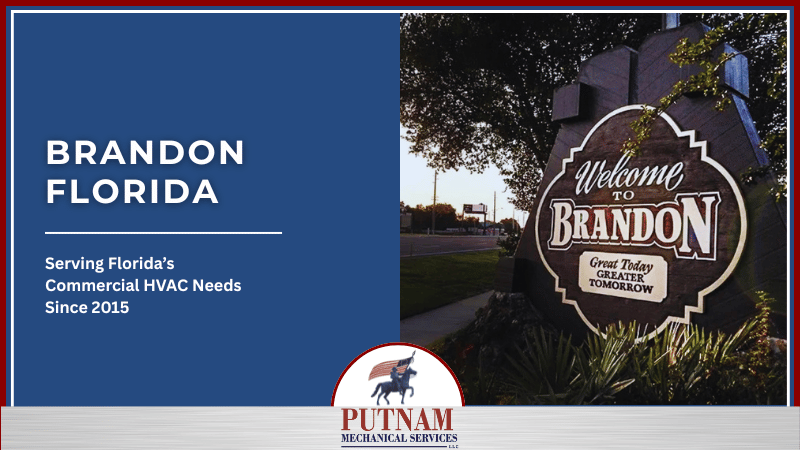
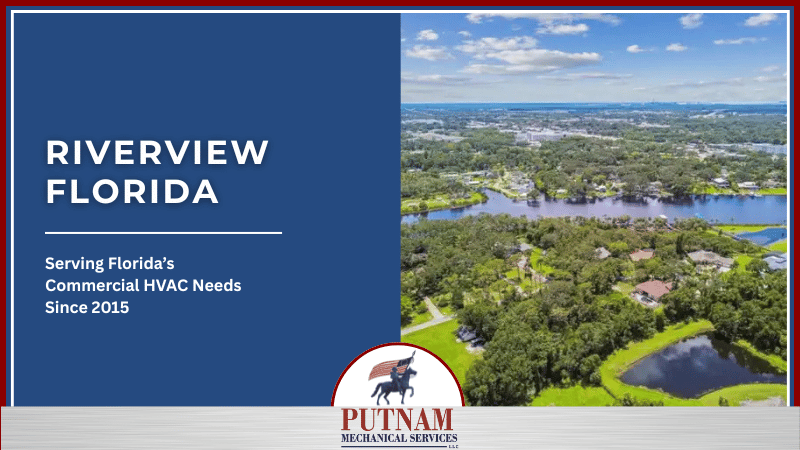
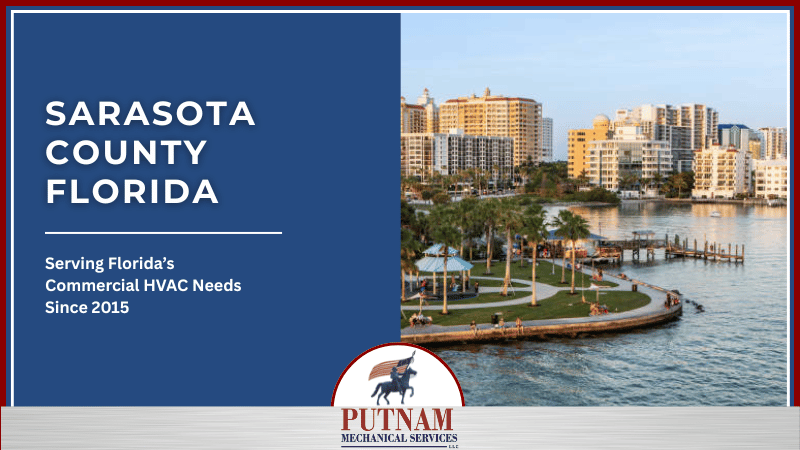
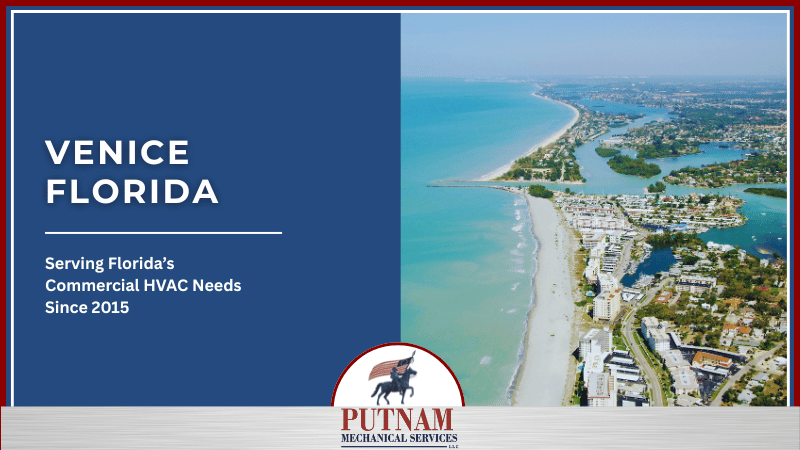
Putnam Mechanical, headquartered in Sarasota, Florida, provides professional commercial refrigeration and HVAC services across Florida’s Gulf Coast, proudly serving Bonita Springs, Bradenton, Brandon, Cape Coral, Clearwater, Estero, Fort Myers, Lakewood Ranch, Largo, Naples, North Port, Riverview, Sarasota, St. Petersburg, Tampa, Venice, as well as Collier County, Hillsborough County, Lee County, Manatee County, Pinellas County, Sarasota County, and surrounding areas.
Our experienced team partners with business owners, property managers, facility teams, restaurants, grocery stores, healthcare facilities, hospitality properties, and retail operators to deliver essential repairs, replacements, system upgrades, and ongoing maintenance with minimal disruption to daily operations.
When refrigeration, HVAC, or ventilation equipment fails, the clock starts immediately. A walk-in cooler losing temperature, a freezer alarm going off, an ice machine failure, a rooftop unit shutting down, or a ventilation issue affecting airflow and building pressure can quickly impact inventory, comfort, safety, and revenue.
Putnam Mechanical provides 24-hour emergency commercial refrigeration, HVAC, and ventilation service with fast dispatch, on-site diagnostics, and clear repair recommendations.
Experiencing equipment failure right now? Call for priority dispatch.
We look at your equipment's age, repair history, and remaining expected life. Frequent repairs, equipment nearing 15 years old, or systems using a phased-out refrigerant are usually better replacement candidates than repair candidates.
Not necessarily, and it shouldn't be assumed. We calculate your building's current cooling load before recommending equipment size, since the old unit's tonnage may not reflect your building's actual current needs.
Timelines vary by project scope, equipment availability, and any permitting requirements, but we'll give you a specific timeline as part of your project quote.
Yes. We coordinate the permitting process as part of the replacement project so you're not managing that separately.
Cost depends on the system type, the specific failure, and parts required. We diagnose first and give you a clear cost estimate before any repair work begins, so there's no guessing on the invoice.
From emergency walk-in cooler repair and refrigerant leak detection to rooftop unit service, compressor replacement, ductwork correction, ventilation support, preventative maintenance, and full system upgrades, our licensed Florida technicians are ready to respond.
COMMERCIAL HVAC REPLACEMENT SARASOTA FLORIDA | NEW ROOFTOP UNIT INSTALLATION | HVAC ADDITIONS FOR RENOVATIONS
Putnam Mechanical has proudly served commercial clients with dependable refrigeration and HVAC solutions. Headquartered in Sarasota, Florida, our experienced technicians specialize in commercial HVAC repair, refrigeration system installation and design, ice machine maintenance, compressor repair and replacement, controls and monitoring systems, energy efficiency upgrades, food safety and temperature compliance services, and 24/7 emergency service throughout Collier, Hillsborough, Lee, Manatee, Pinellas, Sarasota counties, and surrounding areas.
License # CAC1819526